Congratulations to Linda Lee on her induction into the 2019 ASG Hall of Fame!
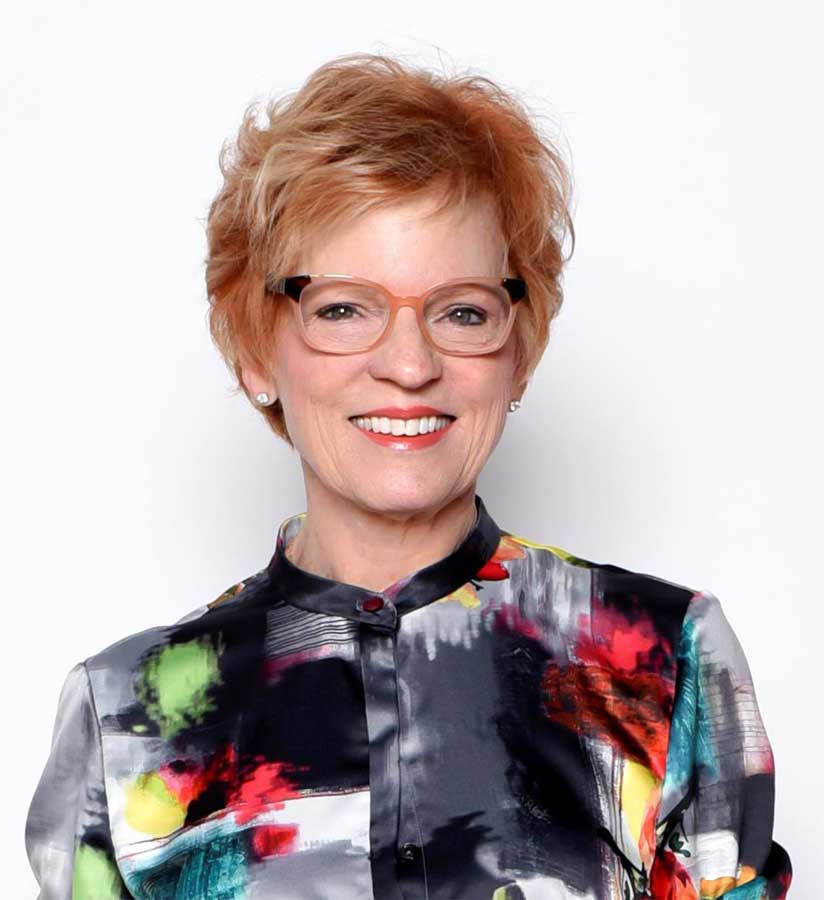 Linda has long been one of ASG’s most popular educators at ASG conferences as well as a sought-after speaker at ASG chapters throughout the country. She began her sewing journey at a very young age sewing doll clothes and, by the sixth grade, she had begun her first business venture by making and selling felt beanie hats for $1 each. She soon expanded her line with dirndl skirts and a career was born. Her formal training began at Kansas State University with a degree in Interior Design which included two years as a Clothing and Textiles major.
Her resume reflects a number of business endeavors including I, a commercial and residential interior company; Threadwear, a retail fabric store; and The Sewing Workshop, a sewing school in San Francisco. When asked about how this all came about, Linda commented, “When you don’t have access to good fabric, then doesn’t it make sense to open a fabric store? It did to me. I had heard about a woman in Kansas City named Karen Ladish who knew the insides of the garment district in New York. She took me there and showed me how to buy fabric from the jobbers and brokers at the right prices. It was fascinating!”
![]()
As a shop owner, Linda took a class from sewing icon Sandra Betzina and said, “I couldn’t get enough of what she had to say. That was the first time I had ever heard of The Sewing Workshop, a sewing school in San Francisco. I went there and fell in love with the place. And it was Sandra who encouraged me to buy it. So let’s see, if you don’t have access to good sewing education, then doesn’t it make sense to buy a school? It did to me.”
Continuing to reflect on the path her career has taken, Linda said, “The best seamstress I have ever met, Shermane Fouche, was teaching at The Sewing Workshop at the time. One Sunday night I was in her studio while she was putting the finishing touches on her first pattern collection. This was before Fedex and I discovered that the patterns needed to be at her printer the following day in Manhattan, KS. Well, I was flying home to Kansas, so I offered to hand deliver the patterns to McCalls in Kansas. And that’s where the idea of starting a Sewing Workshop pattern collection began.”
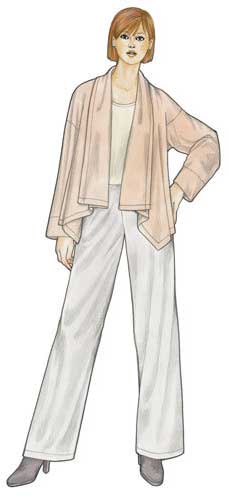
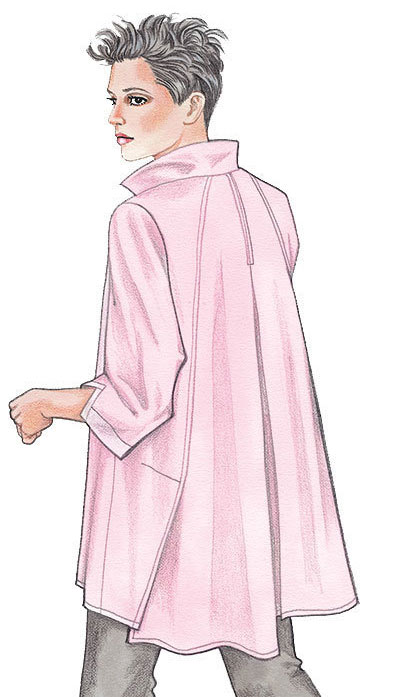 Linda describes these patterns as “designs that are simple but have a little ‘edge’ to them so they are more interesting to construct—a unique detail, a fine finish, asymmetry. I think it is important to teach people the correct way to do things and to offer some challenges as well. Over time, we have evolved from a pattern company that had mostly oversized Asian-inspired designs to a much more wearable wardrobe concept theme. They are designed to fit a lot of body types and to span the generations, too. If I wear them at 71 and my daughter at 30 wears them, then I consider that a success. The steps to construct each pattern are illustrated in great detail making it easy to make one of our patterns. All of the production of our patterns happens in-house so we are in complete control of every step. The only thing we sub-contract is the fashion illustration on the cover of the envelope.”
 Getting back to her career path, Linda continued, “At the same time, I started the Sewing Workshop pattern collection, I received a phone call from Vogue/Butterick pattern company in New York who wanted to use The Sewing Workshop as the site for filming a pilot television show. Of course I took that phone call and promptly converted the school to a filming studio for about a week. The pilot sold to PBS and 30 shows needed to be produced. They needed ideas for the 30 shows, so I became the content editor and writer for all of the shows. This is where I honed my skills for making step-out samples, writing scripts and boiling content down to a few minutes—all within a really tight timeline and budget.”
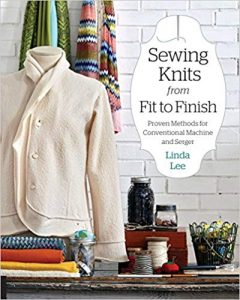 Linda also filmed over 100 how-to shows on HGTV, filmed shows for Sew It All and It’s Sew Easy for PBS, became a contributing editor to Threads magazine, and wrote 13 books related to sewing and home decorating. Her latest book is Sewing Knits from Fit to Finish. And if that wasn’t enough, she also produced a tutorial program called Sew Confident! featuring fitting, pattern variations, wardrobing, sewing techniques, and sewing inspiration with over 65 online sewing tutorials on her website.
With this wealth of knowledge and experience, it is no wonder that students flock to her classes when we are fortunate to have her teach at conference. And if you haven’t been able to get into one of her classes there, don’t despair. Linda also has a number of classes on Bluprint.com (formerly Craftsy).
 When asked what she has enjoyed most about her career, she was quick to respond, “I love the thrill of marketing and selling the best. I think that anyone who is in business needs to love that part of a business; otherwise, it is pointless. I am bored by the repetitive aspects of what my business requires such as sewing. I don’t like to make the same thing twice; however, unfortunately, that has to happen when developing a pattern. I like to think about things and then delegate. Don’t get me wrong, I love to sew, but I would prefer to sew without deadlines and just for me instead of constantly sewing for a purpose in the business. I do use some really fine seamstresses to make some of the samples but, ultimately, I need to sew most of the samples garments in order to understand the hurdles of a design or a particular fabric.”
Linda reflected, “Everything has come together and formed a rich career that I can’t seem to leave. But I am watching the young people in my company begin to implement new ideas and take charge. My daughter Alex will complete her Masters in Fashion Management from the London College of Fashion this October. Will she join my company? I hope so! I have never felt more positive about the future of sewing — it really is in good hands. I enjoy reading blogs, following mind-blowing fashions, and staying tuned into Instagram. I am looking forward to seeing where The Sewing Workshop will be in 10 years. Hopefully I will be starting some new project, because if I don’t have access to something I need, perhaps I will start it or buy it.”
Linda is a proud ASG member in the Kansas City Chapter and offers fellow ASG members a generous one-time per year discount of 25%. Check the Special Offers page in the Members Only area for the code. Be sure to check out Linda’s collection of patterns and other items on The Sewing Workshop website.
~Rosemary Fajgier
The American Sewing Guild is truly fortunate to be able to count many gifted sewing designers and instructors among our friends, members, and supporters. Throughout this coming year we will be featuring some of them in our Notions Blog. We hope you will enjoy reading about them and take the opportunity to get to know them better and explore their many talents by visiting their websites, taking their classes, and discovering the wide variety of designs they bring to the home sewing market.
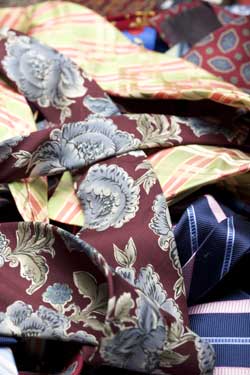
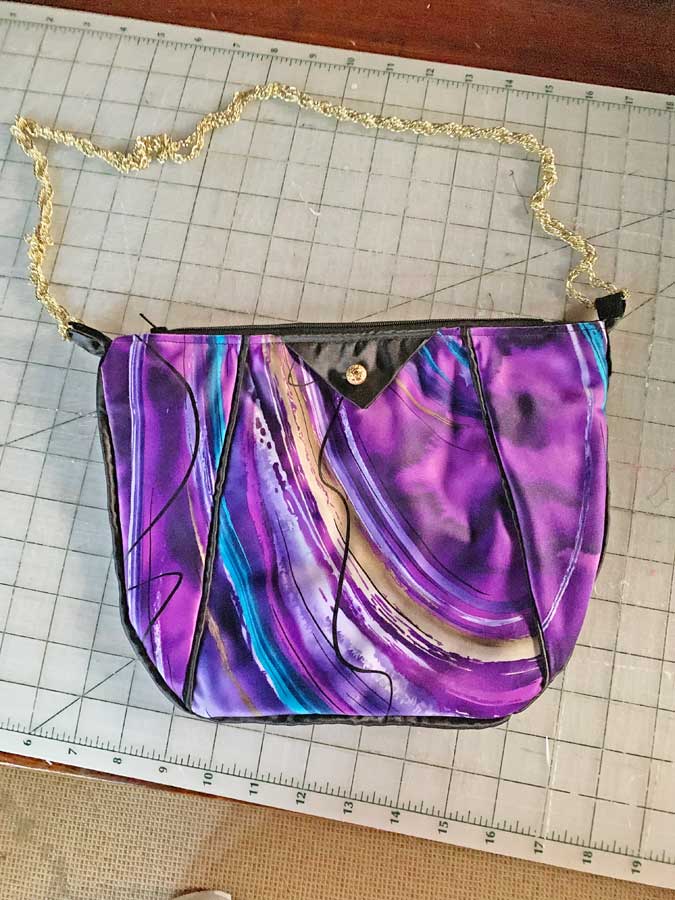
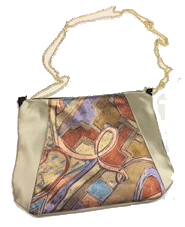 Since I love making purses, I decided to go in that direction. The deconstructed tie yielded a piece of fabric that was 7 ½ inches at its widest point. I took two foundation pieces of fabric and laid the wide points of the ties centered on the foundation. Then I played with the remaining pieces and tried to match the swirls of color on either side of the main sections. Luckily the ties were close enough to being identical that I was able to get both the front and back to look similar. But how could I attach the pieces and make them look attractive and not just patched?